

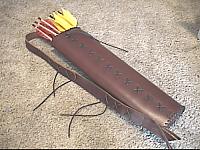
Cut out the quiver leather to your desired measurements. (This example uses 23" x 18" x 19").
Draw an edge ink line 1/4" in from, and parallel to, all four leather edges.
On the top and bottom edge ink lines, starting 1/4" in from each side, make a tick mark every 1/2". We'll call these the top/bottom edge lines
On either long (length) side, draw a line 1" in from, and parallel to, the side edge ink lines. We'll call these parallel lines the side parallel lines.
1/2" up from the bottom edge line, make a tick mark on all four side parallel lines. Starting at the side parallel lines tick marks you just made, make a tick mark on all four side parallel lines every inch, all the way up to the top of the quiver.
The back of your quiver leather should now look like the drawing below...
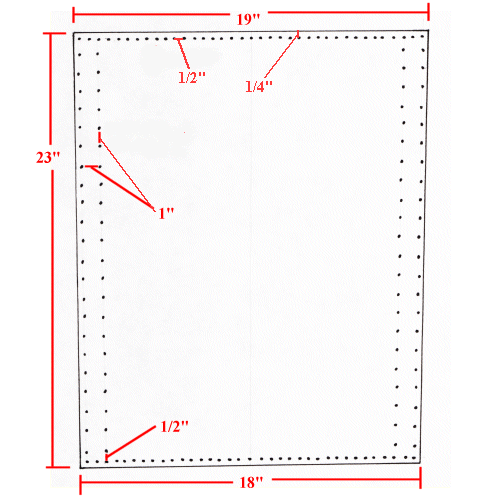
At every tick mark, punch a hole.
Take a 6' leather lace and cut both ends at a slight angle, to make it easier to fit through the holes (to make the tips really stiff, run a few drops of CYA on them!). Roll up the leather (if your leather is quite stiff, you can use a few large rubber bands to keep it rolled up during the lacing process), overlapping the edges, aligning the side parallel line holes you just punched. Starting at the bottom, and from the outside, lace up the quiver. Insert each end of the single lace and pull them through evenly into the inside of the quiver. Then, from the inside, move straight up to the next set of holes and push them through and out. Now cross them and push them down into the quiver. Repeat lots of times! The two images below should help....
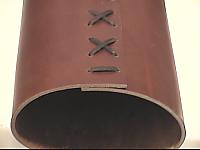

Now that you've got the quiver tube laced up, before adding the bottom, we'll punch two holes for the bottom of the strap. With the quiver in front of you, with the "X" lacing up and the tube somewhat flattened into an oval, the holes will go on the left side for a right handed archer. Punch two holes 1" apart, and about 3" up from the bottom edge.
You can tie off all lace ends with single or doubled overhand knots. When lacing the bottom and top edges, I like to tie off with a single overhand knot, then saturate the knot with CYA and cut off the ends close when cured.
Here's the idea behind the straps...

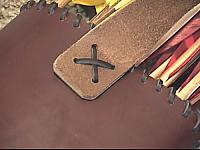
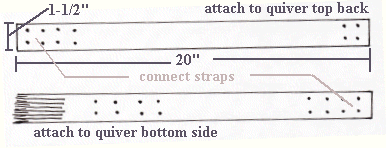
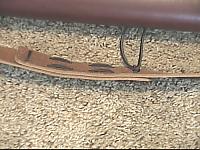
The bottom...
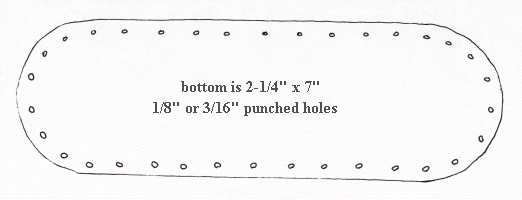
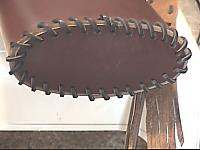
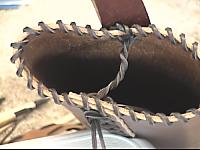
On the right is the quiver mouth, with a twisted pair of laces running from back to front, acting as a compartment separator. There are LOTS of options you can add to this basic, sturdy, very functional back quiver. Customize it as you like!