| How to serve the BEITER Nocking
Point |
The Nocking-Point is made out of two identical
halves, which must be served into the serving, paying attention to fit pins and
holes (as shown in the drawing)
Tools that you need: 1 Beiter WINDER (or other
string server) with the desired serving material, 1 Beiter Nocking Point (2
halves), 1 Gauge, 1 pencil, 1 Fastener with elastic band.
- Important
- Use a proper, not to stiff serving material (we
suggest ASB Dyneema). The Nocking Point must be
served tight, but not too "tight". If it is served too
"tight", the Nocking Point will be the only real elastic or giving
part on the string: the consequence can be, that it will bend and eventually
crack.
- Important
- If the Nocking Point cracks after a few shots,
it is a sign, that you used a wrong serving material or that you served to
"tight" or else it had too little support underneath (too few strands)
|

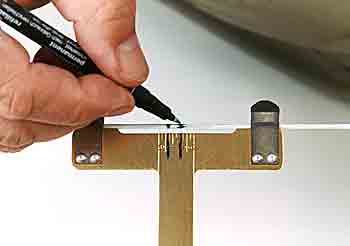 |
| Set your nocking point with the checker and
mark the correct position with a pencil. |

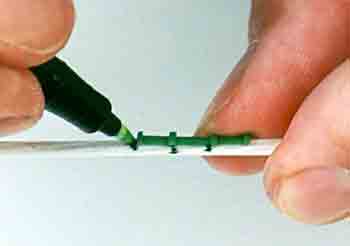 |
| It is better to mark not only the position of
the higher inner shoulder, but also the lower inner shoulder and the end of the
Beiter Nocking Point itself: in this way you can better control the position of
the Nocking Point during the serving procedure. |

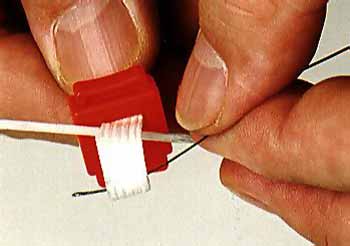 |
| Every single archer has its own way to serve a
serving and especially how to begin to serve it. We use a Fastener with elastic
band to hold the thread, allowing both hand to be free. |

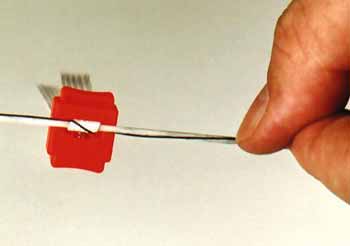 |
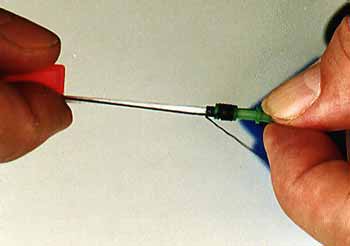
| Pull the Fastener to the
string: so you have easily set the start for your serving. |

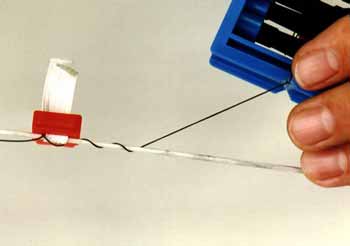 |
| Turn the yarn
respectively the Fastener 4-5 times around the string, to be able to enter to
the in-going thread indentation of the nocking point with a very flat
angle. |

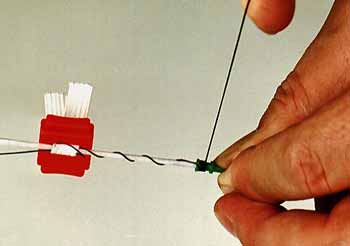 |
| Fix the two halves of the
Nocking Point on the string (paying attention to match holes and pins). On each
half of the Nocking Point there is a left and a right turning indentation: in
this way you will always find one in the correct turning direction. Wrap the
yarn around the nocking point, tightly but with not excessive tension. |

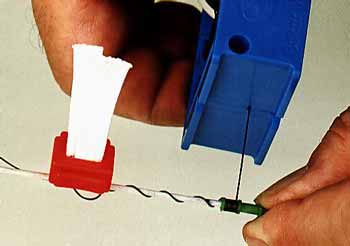 |
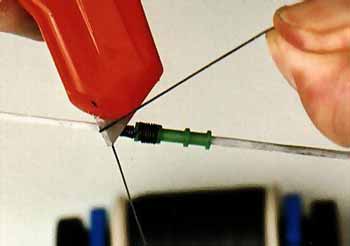
| The Winder will change direction as soon as it
touches the inner shoulder of the Nocking Point. |

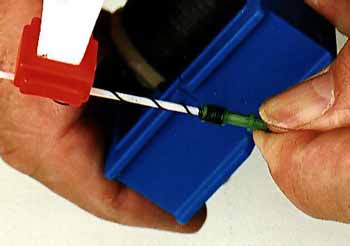 |
| At the outer shoulder, the thread will return
to the string through the free, out-going thread indentation. |

 |
| Tighten teh Winder and
position the nocking point, before you continue to serve your serving.
|

 |
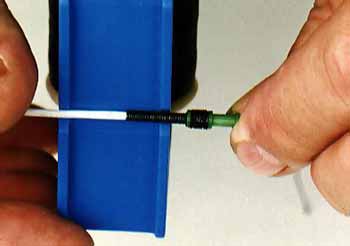
| Serve approximately 1cm
(1/2 inch) and cut the open part of the yarn, after having released the
Fastener. |

 |
| Serve with the Winder with your
usual tension as far as you are used respectively as far as you did on you
other strings. Close the serving. |

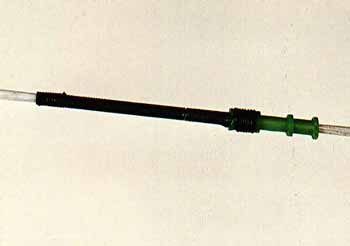 |
| This is the first part of
your Beiter Nocking Point. It can still be precisely positioned. Serve the
second part of the serving corresponding to the steps just described. |


