Bow grips from the manufacturer are often designed and made for an average hand. They do not confirm to the needs of the BEST archer!
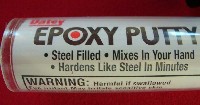
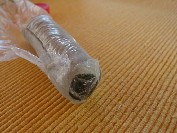
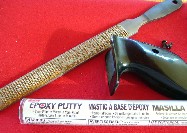
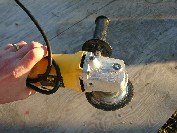
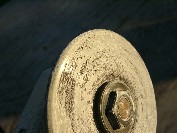
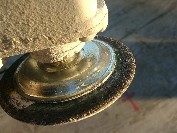
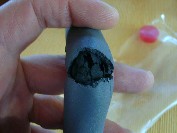
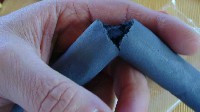
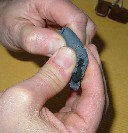
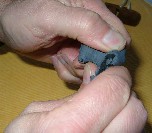
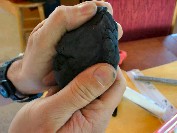
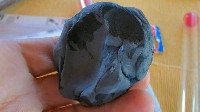
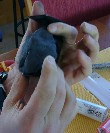
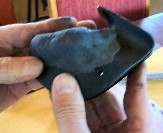
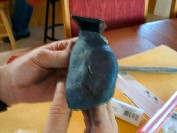
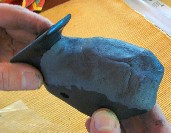
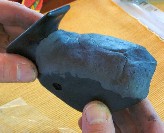
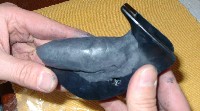
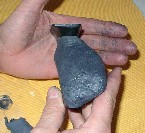
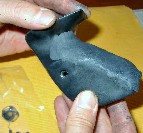
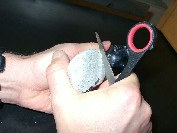
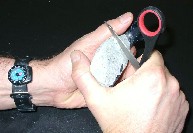
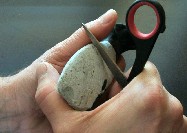
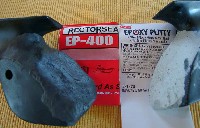
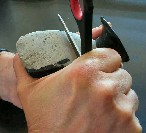
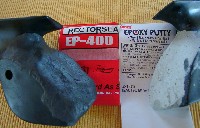
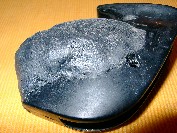
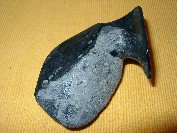
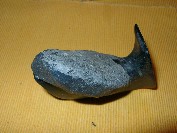
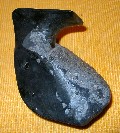
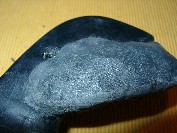
Your hand is likely different than the average, or perhaps your shooting preference is for a different grip. It is a VERY easy and simple matter to build up a grip, or sand it down. To conform to the BEST method a bow grip must promote the right positioning of the bow hand and customization is necessary, particularly as the archer's BEST performance improves. As the grip is made "higher" the level or plane of the pressure point on the bowgrip moves closer to the plane of the pivot point. Establishing the proper plane of contact of the palm also promotes the "45 degree" knuckles and BEST pressure point. To customize you can either add or remove material from your bow grip. Problem: There is only a limited amount of material you can remove from the original factory grip without weakening it too much. How much removed is too much? You'll likely find out right at the worst point in a tournament, when it cracks into two pieces, leaving you scrambling for the duct tape. Instead of removing material from one side of the grip, it is safer and easier and more logical to ADD to the opposite side. The best material to use in building a custom grip is an epoxy putty, which works easily and is not sticky/gooey/formless, hardens quickly, and can be then modified repeatedly. The putty is very cheap. I recommend you get several tubes, and practice the mixing and shaping and pressing into place before you do it "for real". When the putty starts to get really warm, pull it off your grip and discard it. If you apply it to something rigid like a wood dowel or a broom handle, you can leave it on to harden and then practice shaping it. Note: less is better. You can learn to apply "just enough" of the putty in a way that does not require grinding, shaving, or sanding! The tools needed for custom-shaping a grip are: New: latex or nitrile gloves to protect hands and make for easy cleanup. They should fit snugly. Clean oils off of the grip using a little rubbing alcohol and a paper towel and let it dry. Tear off about one inch worth of putty. Work quickly. Knead the small putty amount, roll it quickly between your palms from a ball into a cylinder, back into a ball, into a cylinder, repeatedly. The color of the putty will quickly become uniform in color at which point you can press it onto the grip. One key is to use small amounts, work it well, and add it by pressing it into place and molding it quickly. It is much easier to use less and then add slightly more. Generally, you want to add more at the base of the grip under the heel of the palm and create a flat sloping towards the thumb side. You also want to create an edge on the pinky side that curves slightly following the lifeline of your palm. Do not make any changes in the throat of the grip. If you add too much and let it harden, and most people err in this way, you will need tools to remove the hardened putty. You can use a hammer to tap one side of the putty, nocking off completely in one piece. Or, you can remove a little at a time, using tools such as wood rasps, files, knives, drills, and my favorite, the cut-off grinder. Using the right tool is KEY to making this job easier, faster, and the outcome better. The cutoff grinder makes very short work of it, and can rapidly produce good results. A dremel tool will work also, but will take a LONG time if you have a lot of putty to remove. If, as in the pictures below, you choose to use the wife's sewing scissors to smooth and do a final touchup, all bets are off and you are on your own! Again, once the material has hardened, if you wish to start over and try again, you can tap it sharply with a hammer in a direction that aims to separate the material up from the plastic grip. It usually can be made to pop off as one piece. A small residue of putty on the grip is no problem to applying a new layer. In promoting the NTS/BEST method do not try to add too much at one time. It is better to allow the archer to adapt in small steps of increased height on the grip. Before you begin working the putty, either don gloves or else remove any rings you wear. This material can be easily removed from skin with good soap, but you need dental picks to get this stuff off of wedding rings, much to my displeasure to discover. Decide what you want the grip to look like before you begin. Plan to overbuild the grip as little as possible and afterwards remove excess material to arrive at the grip you want to shoot with. You CAN end up with too little, and then add a layer of putty on the original putty, and it will be perfectly strong for the task of flinging arrows. The putty comes in a tube of two materials, as you can see in the photos here, an outer grey layer and a darker inner core, and once they are properly mixed the hardening chemical reaction begins. You cannot stop it, so you only have a short time to accomplish your shaping of the putty on the grip once you start. I suggest you click on the first image, and then just navigate through the images and commentary using the right arrow on each image's page. As with other documents on the TSAA's website, I am interested for feedback, and contributions to the articles, from any and all archers. Remember, your lifeline should never touch the grip during a shot cycle. The surface should be gently sloping toward the well of the thumb groove and be generally flat planerather than a rounded "mound", and not sanded smooth - texture decreases hand slippage. A.Ron Carmichael 2/28/2005 PS: My thanks to Don Rabska for putting me onto this putty, as well as teaching me so many new things about archery - Every archer in the US that uses the BEST method owes him, big time. |

